Producing a Flashback effect on an Image in Photoshop CS6
Producing a Flashback effect on an Image in Photoshop CS6. In this Photoshop tutorial, you are going to learn how you can convert an ordinary photo into one with more detail and elegance. The effect produced in the final image is like that of a flashback, down some memory lane. And to achieve this goal, today we are working with Field blur, Layer style and Adjustment layers.

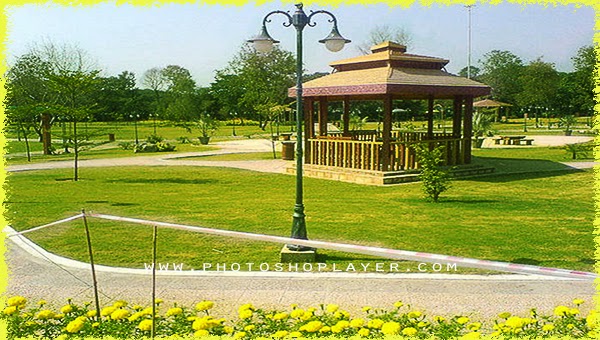
1. Open whatever image you would like to work on in Photoshop. This is the image we will be using for this tutorial:

2. Duplicate the Background layer. Name this as ‘Duplicate One.’
3. Go to: Filter > Blur > Field Blur and then make the following changes:

4. Duplicate the background layer once more. Name this as ‘Second Duplicate.’ And then bring the second duplicate over the duplicate one in the Layer Panel.
5. Change the second duplicate’s Blend Mode from Normal to Overlay.

6. Double click the layer to open Layer Style and then make the following changes:

7. Create a new Adjustment layer and choose Hue/Saturation. Then make the following changes:

8. Create a new Adjustment layer and choose Curves. Then make the following changes.

9. Create a new Adjustment layer and choose Photo Filter. Then make the following changes:

That’s it, babe.
Final Picture:
1. Open whatever image you would like to work on in Photoshop. This is the image we will be using for this tutorial:
2. Duplicate the Background layer. Name this as ‘Duplicate One.’
3. Go to: Filter > Blur > Field Blur and then make the following changes:
4. Duplicate the background layer once more. Name this as ‘Second Duplicate.’ And then bring the second duplicate over the duplicate one in the Layer Panel.
5. Change the second duplicate’s Blend Mode from Normal to Overlay.
6. Double click the layer to open Layer Style and then make the following changes:
7. Create a new Adjustment layer and choose Hue/Saturation. Then make the following changes:
8. Create a new Adjustment layer and choose Curves. Then make the following changes.
9. Create a new Adjustment layer and choose Photo Filter. Then make the following changes:
That’s it, babe.
Final Picture: